
I used my cricut machine and the "Create a Critter" cartridge. I found the turkey and choose 4 pieces of paper in the colors that I liked. A little brown, dark brown, orange-red and yellow-orange and cut out the pieces to the turkey. I cut two of the back feather piece, the largest one. I cut them at 3 1/2 on the machine. I inked the edges in a coordinating color and started gluing them together. I glued the following pieces directly on to each other.

For these pieces I used my "foam mounting tape" or "dimensional" from stampin up between each piece. To give it more of a three dimensional look. Oh and I cut the legs off of the bottom so it will stand up when I added the extra piece of paper around the bottom.

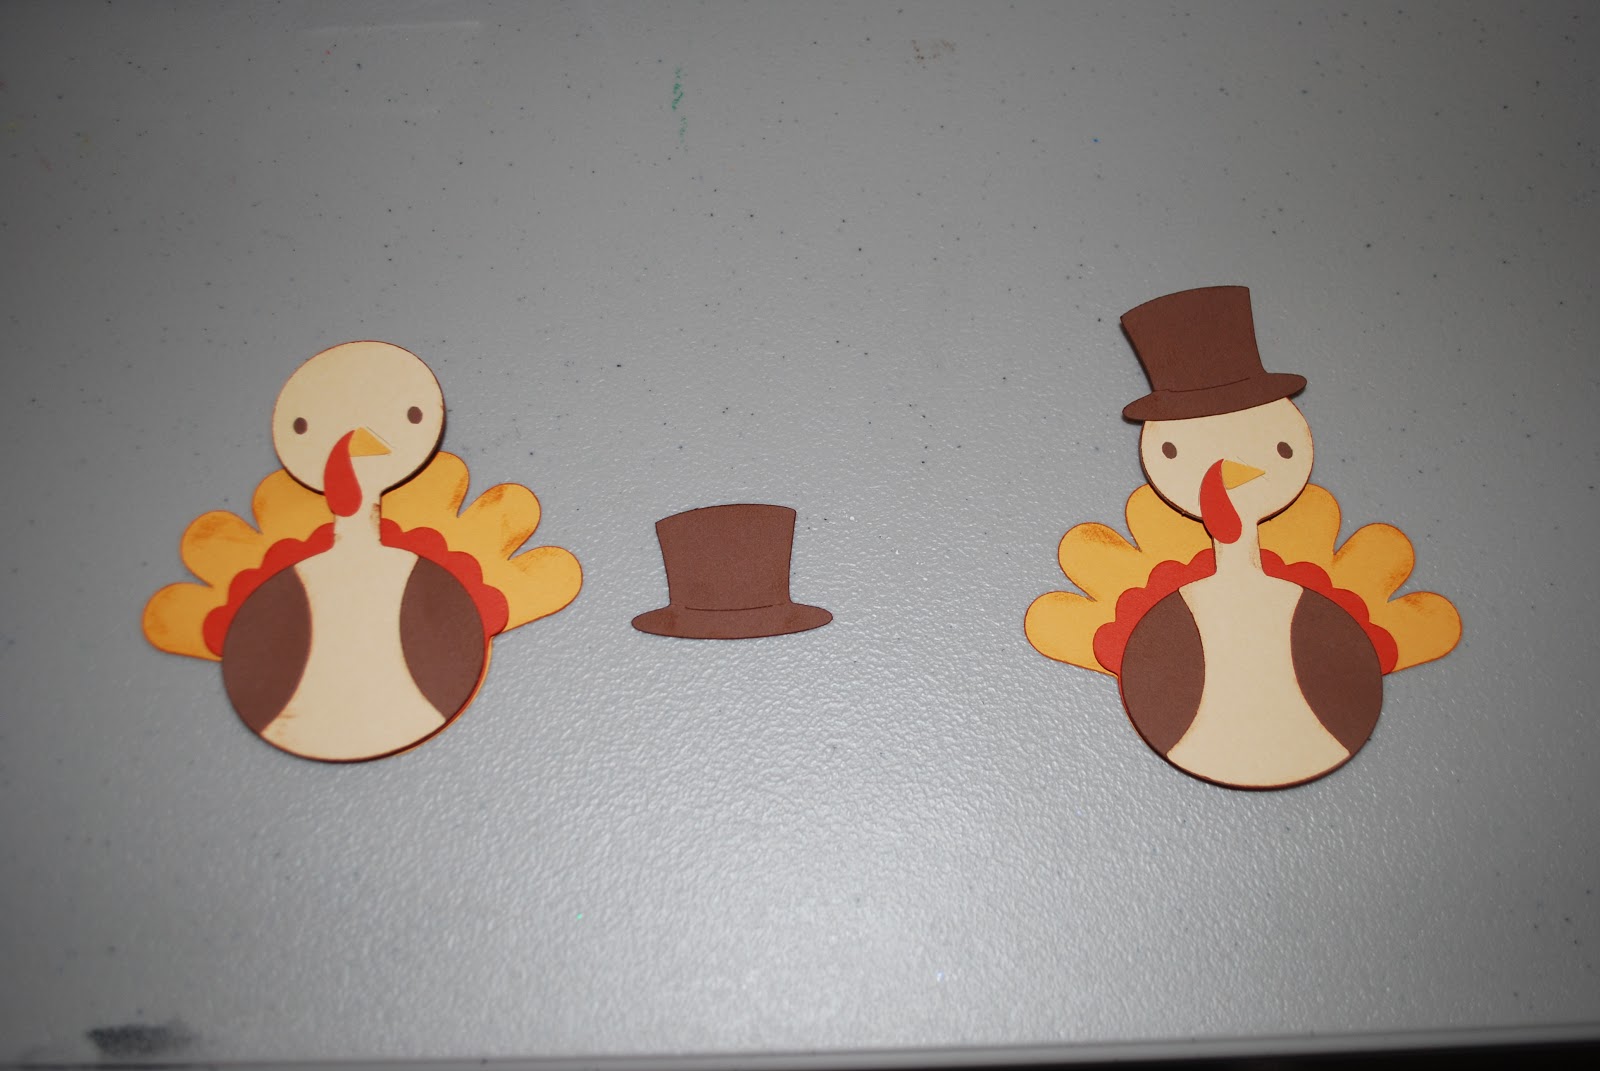

Hopefully this pictures shows you how I glue it to the back, next add the extra back feather piece to the other side and you have it. Now this turkey will stand up. You could fill the middle of your turkey with candy or beans to help it stand up better. Or you could use it as favors for guests or seating name tags.


No comments:
Post a Comment